Welcome


Hello, my name is Dionne and I have been crafting for a very long time. As a very young child my mother tried to teach me to knit, it was a disaster. However, it must have sparked an interest in making things and, partly to prove that I was not totally useless and partly because I really wanted to make things, I taught myself to crochet. Over the years I have developed a love of cross stitch and all types of paper craft ..... I eventually even taught myself to knit.


I am married to a very understanding man, thank goodness, because I spend all my time either crafting, thinking about crafting or talking about crafting. I am hopeless at housework and dinner is often late!


Thank you for visiting my blog.


Dionne

Monday 26 December 2011

Celebrations

Hi

I hope you had a very happy Christmas.

At Crafty Boots Challenges we are still in the party mood and the current challenge is all about celebrations.

I have designed a wedding invitation and RSVP card for a friend who is getting married in the spring (I thought it best to delete the personal information, sorry about the gaps in the text).  The colour theme of the wedding is purple so the invitation had to have lots of purple and a slash of silver.


Make sure you check out the blogs of my fellow design team members, they have come up with some pretty stunning ideas.

I hope you all have a very safe and prosperous New Year.

Dionne

Saturday 24 December 2011

We Wish you a Merry Christmas

I think I shall have to make this my last Christmas card post for 2011 because the big day is rapidly approaching.


I hope you all have a very happy holiday and I wish you and your family peace and goodwill.

Dionne

Magical Winter

I make and send a lot of Christmas cards every year and as much as I would like to stamp and colour every one, I just do not have the time but this year the fabulous Nikky Hall came to my rescue with her Magical Winter CD.


These images are so sweet and all I had to do to them was print them on some of the Crafty Boots Deluxe Crafters Card, add glitter and polar white Flower Soft.  A little glitter card for the background and then add a die cut shape or some buttons and I was done.

Oh, the sentiments were also from the Crafty Boots website.

Monday 19 December 2011

Oh Christmas Tree

I recently saw a card where someone had used a die to emboss directly into the card, it was very effective and I thought my new Christmas Tree die would be perfect for this.


I was very impressed, it was quick, easy and quite sophisticated.  After running the die through by Grand Calibur, I added some colourful flat backed gems and a sentiment from Kanban Crafts.

Next year everyone could be getting this card from me!

Sunday 18 December 2011

Christmas is Coming

I have at last finished making my Christmas cards.  I am normally far better organised and I make my cards in August but this year August was very hectic and I only made about 30 cards.  This week I made another 65 and I hope this will be enough.

In the UK, yesterday was the last posting day for guaranteeing second class post to be delivered before Christmas Day.  So, early yesterday there I was, in the Post Office, buying my stamps.

Whilst all of my Christmas cards are different, they are all very similar so I do not think I shall be posting them all here as it could get rather boring.  But here a few of them .........


I really love these star and the Christmas tree dies from Memory Box and they feature very heavily in my cards this year.  Oh, you will probably notice that I also love using glitter card on my Christmas cards, I really think you have to have a bit of glitter at Christmas.

All of the stamps I have used for the above cards come from the Sugar Nellie range and the sentiments are from Kanban Crafts.

If I have time, I will post a few more of my Christmas cards later.

Monday 12 December 2011

Crafty Boots Challenge Blog Hop


Hi

My thanks to everyone who left comments on my last Crafty Boots DT post and entering the blog hop competition.  I am delighted to be able to announce that the lucky crafter who has been randomly selected to win some crafty goodies is ....

CLAIRE

To claim your prize, please email Stephanie-Emma your delivery details.  Her email address is:


Congratulations Claire!


Dionne

Snowflake Christmas Tree Decorations

Hi

A big welcome to everyone who has found their way here via the Crafty Boots Challenge blog.  The current theme is Christmas.

I think I may have been watching a little too much Kirstie Allopp for I have definitely stepped outside my comfort zone with this project.  I do not think I have baked biscuits since I was at school and I have never been so ambitious as to attempt to bake my own snowflake shaped Christmas tree decorations but I thought that this year I would give it a go.  I don't think they turned out too bad.


Don't forget to visit the other DT members blogs, they have made some pretty spectacular things this again this week.

Right, I'm off to start stringing popcorn.

Dionne


Sunday 4 December 2011

Home is Where the Heart is

When I saw what fellow Crafty Boots Design Team Member Zoe had done with this Hope Jacare Doodle image I knew it was the perfect card for a friend of mine who had recently moved home.  I loved the monochrome treatment she had given the image.

My apologies to Zoe for plagiarising her concept.


I printed this image three times and coloured it with my Promarkers, using the browns and skin tones and I added a little sparkle on the hearts with my Wink of Stella pens.  The only splash of colour is the red front door.

I cut around the houses and decoupaged the image to give it some dimension and mounted the whole thing on gold and brown pearlised card.  Finally I placed the whole thing on some gold glitter board and added some ribbon and a couple of brads.

Four Hundred and Forty Five Mile Road Trip, a Lot of Fog and 1 Workshop

A couple of weeks ago my good friend Stephanie-Emma and I set off at some unheard of time of the morning to drive to York.  It was so early, not only was it still very dark, but the garages were not yet open.

The purpose of our early morning start was because we had a 222 mile drive ahead of us to York, where we were booked on one of the fabulous Nikky Hall's workshops.

We had been looking forward to this day for weeks.  We left with loads of time to spare and allowed for rest stops and traffic problems.  However, we had not envisaged a satnav which took us down narrow country lanes in endless thick, thick fog, which made it impossible for us to pass all the slow moving traffic we were stuck behind for mile after mile.  However, Stephanie-Emma was marvelous, she did all the driving, under incredibly stessful conditions.

We took a slightly different route coming back, which was slightly longer, but the roads were much better.  However, there was a point coming home when I thought that conditions were getting so bad we were going to have to book into a hotel for the night, but Stephanie-Emma pressed on and got us home safe and sound.

Meanwhile, back at the workshop.  As you can imagine, we were a wee bit late but Nikky and the other ladies were great, helping us to settle in and catch up with the rest of the class.  I would like to say a big thank you to the lady who lent me her trimmer, which had the measurements in inches (mine is in centimetres and the instructions were all in inches).  I should also like to thank Emma T who made a note of all the measurements I had missed and kept putting me back on the right path.

I had a marvelous day, although I could have done without all that nasty fog and the stressful journey, and I thank God for Stephanie-Emma getting us there and back safely.  We made some new fabulous friends and we picked up a few crafting techniques.

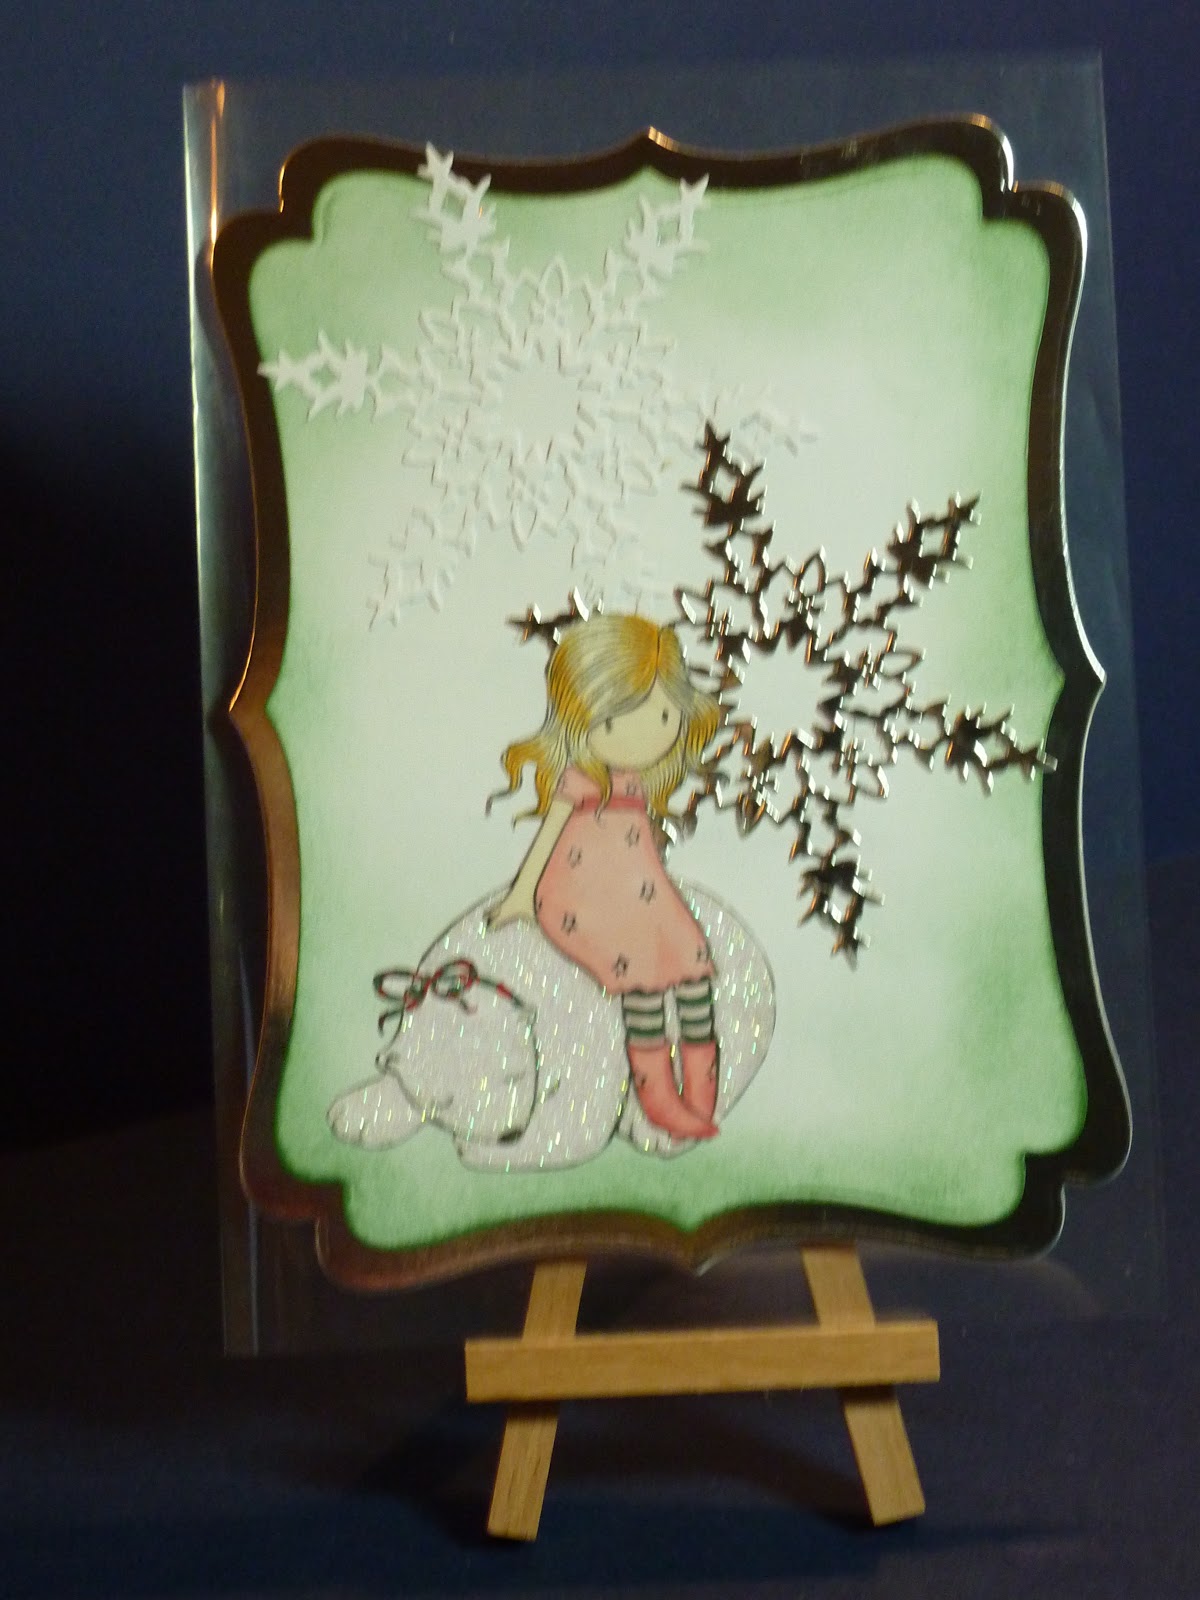
I really enjoyed making my box card and intend making a couple more this week.


Unfortunately, the camera hasn't caught the twinkle from my Wink of Stella pens and all the little pearl gems do not really show up either.


Perhaps the next workshop I go on should be photography because I have not done a very good job of showing the dimensions here.


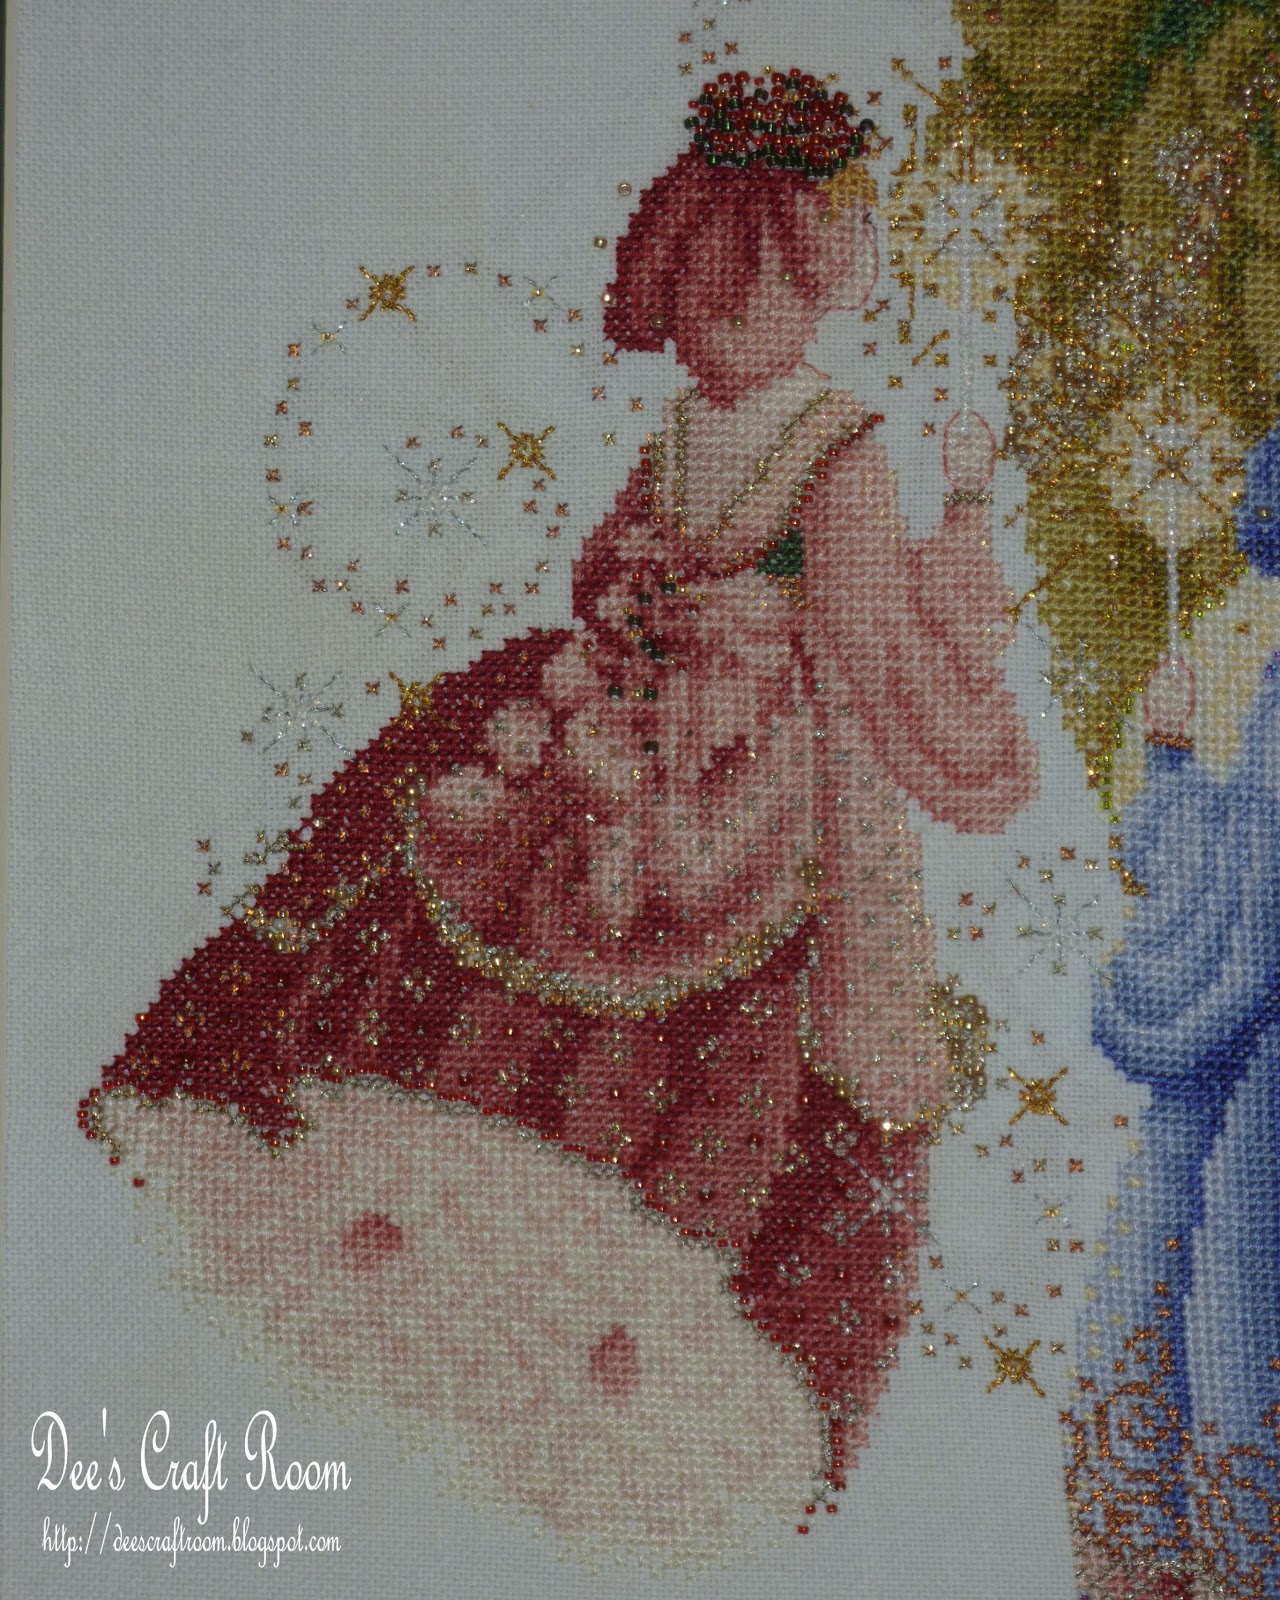
I love this red poinsettia, isn't it fab?


I thought that the grey hair and sparkly gold wings would make her look cool but on reflection they were probably a mistake.


I made this area for me to add a handwritten message.

Saturday 3 December 2011

Sitting Pretty

Another bonus from the workshop in York the other week was that Nikky let us have a number of images and backing papers from her 'Pretty Sweet' and 'Pretty Tuff' CDs.

I did not have time to do anything with mine on the day so I took them home to play with later.  And that's just what I did the other evening.


I had a great time playing with my Promarkers, although I seem to have lost my Blush during my recent travels, but I think I may have at last got together the right collection of colours for fair hair.

As you can see, I mounted the images onto some shaped cards I had purchased from the Crafty Boots on-line store.  All the papers and most of the sentiments were from Polka Doodles.  I also used some holographic gold card and flat backed gems from my stash and the dies were from the Marianne Designs collection.  I really love these dies at the moment and cannot get enough of them.

It was very late when I finished and I was tired but it had been fun.

Monday 28 November 2011

Anything Goes - Crafty Boots Blog Hop Challenge

A big hello to everyone taking part in the Crafty Boots Blog Hop Challenge and welcome to my blog.

The theme at Crafty Boots Challenges this fortnight is ‘Anything Goes’.  You can join in the challenge as normal but there are 12 extra chances for you to win a prize by joining the first ever Crafty Boots blog hop!


If you are joining in the hop you should have got here from Amy’s blog.  If you haven’t blog hopped before it is really simple, just start at the Crafty Boots Challenge blog and hop through the design team blogs in the order set out on that page.  Each of the design team members has a word or two for you to collect which will reveal a message at the end.  Once you have collected that message email it to bloghop@craftyboots.co.uk to be entered into the draw to win the prize of three digis of your choice from Hope Jacare Doodles.  You must also become a follower of all the design team’s blogs (and that of guest designer Claire) to be eligible to win the prizes.

This image is called Christmas Rooftop.  With Christmas in mind I decided it was time to experiment with putting images onto candles and decorating them - and perhaps create a nice present for someone special.


To be able to do this you have to print the image onto tissue paper.  I cut my tissue to roughly A4 size, then attached it around all of the edges to a blank sheet of light weight card using double sided tape.  When you size your digital stamp you need to remember that the tissue paper attached to the double sided tape will be wasted so you need to keep to the centre of the page.

Once you have the printed image you should trim around it and carefully place it on the candle (you can use a little glue as it will not show when you have finished - I used a glue stick to place the ivy leaves, as they were hard to keep in place on their own).  You then tightly wrap the candle in wax paper and, using a heat gun, warm the wax under the tissue.  The melted wax oozes through the tissue.  Once you have a thin film of wax on the top of the image you should stop heating it.  Allow the thin layer of wax to set; you can no longer see the tissue paper but you can still see the image clearly.  

One of the advantages of using a digital image is that you can change the size of the image to fit your candle.

You can now add some embellishments, the candle wax is reasonably soft, so you can easily push pins in to it.

I made the ivy leaves by punching them out of green tissue paper using my X Cut embossing punch and arranging them in a chain around the candle.

I was quite pleased with how these candles turned out but I thought that coloured images would also be nice.  However, Promarkers bleed when applied to tissue paper and my pencils were too faint when covered with wax.  My solution was to stamp an image in the normal way and to scan it onto my computer.  I then used my graphics programme to colour the image.  I was fairly pleased with the result, what do you think?


You can embellish your candles with all sorts of things.  I have used ribbons and peel-off's.  I have also added a small bell on a bow to one of them, you could try pushing brads or decorated pins into the candle wax.

Now back to the blog hop, don't forget that myself, and each of the design team members, has a prize of candy up for grabs, this will include a sample pack of the fantastic new Crafty Boots Deluxe Card, along with a few other goodies.  Be sure to leave a comment on each of our blogs and follow us to be in with a chance of winning our candy.

My word for the secret message is:

FOR

Your next stop is Emma M’s blog.


The deadline for both Anything Goes Challenge, and the blog hop (and the candy) is Sunday 11th December at 12 noon (UK time).

Monday 14 November 2011

Firefly Fairies

For the next two week the theme of the Crafty Boots Challenge is Fantasy, which means anything magical or mythical.

This wonderful Lavender and Lace design of three fairies is by Marilyn Leavitt-Imblum and it is one of my favourites.  It is encrusted with beads and metallic threads, when it catches the light is really twinkles.


It is stitched on 32 count evenweave linen using 26 shades of stranded cotton, nine different colours of tiny beads, four separate shades of metallic braid, silk floss and treasure braid.

Monday 31 October 2011

Catch the Wind

Welcome.  It's Monday and another Crafty Boots Challenge has been launched today.

The theme of this challenge is Young at Heart, which can be anything child related or something reminiscent of childhood.

I think all the fun of childhood is captured in this Butternut Road counted cross-stitch pattern entitled 'Catch the Wind'.


Designed by Marilyn Leavitt-Imblum, this colourful chart shows three girls holding tight to their kite strings.  I have worked this on 32 count white linen using 46 shades of stranded cotton.

This is one of those designs which was a joy to stitch and one day I have it in my mind to work it again using different colours, perhaps softer tones next time.


Monday 17 October 2011

The Season of Mists and Mellow Fruitfulness

I hope your weekend was fabulous.

It's Monday and another Crafty Boots Challenge, the theme today is 'Autumn'.  I have taken my inspiration for this scrapbook page from the Keats poem 'To Autumn' and all of the amazing Halloween cards I have seen in recent weeks.


The background paper I have used is by Kaisercraft.  I stamped the page with tumbling autumn leaves using a VersaMark ink pad, I then brushed the page with Perfect Pearls which I bought from the Crafty Boots website, to get that shimmering ghost leaf effect, it also gave the page a misty feel. 

I then covered three sheets of card the same size as the photograph with three different blends of gilding flakes (not that you can actually see the different colours from the photograph here).

I cut the letters out of paper and added the Jack O Lanterns, apples and corn.  The text is the first verse of my favourite harvest festival hymn.

Sunday 9 October 2011

Here Come the Girls!

I have been having a fantastic time this week, playing with my new stamps and my Promarkers.  I have produced another batch of cards, all girl images this time.


This stamp is a Sugar Nellie Home Grown Manga one called Dreamy.  The backing papers are from Dovecraft and the mats are all cut using my Nesties, you can see that I had a go at distressing some of the mats.  The sentiments are from Craft Work Cards.


Another Sugar Nellie Home Grown Manga stamp, this one is called Manga Girl # 2.  The backing papers are from Dovecraft and the snowflake mat is one of the Marianne Creatable dies, the sentiment is from Craft Work Cards.


This is a Gorgeous Girl stamp called Winter Friend.  The backing papers are from Dovecraft and the glittery mats has been cut using my Nesties, the sentiment is from Anita's.


Another Gorgeous Girl stamp, this one is called Holly.  The backing paper for the card on the left was a free gift from one of the mags and I distressed the Nestie mat.  The snowflakes were punched with one of my Martha Stewart punches and the sentiment is by Anita's.  The backing paper for the other card is from Dovecraft and the gold snowflake mat one of the Marianne Creatable dies, the sentiment is from Craft Work Cards.


More Sugar Nellie Home Grown Manga stamps.  The one on the left is called Tiny Tidler and the one on the right is called Manga Girl # 1..  The backing papers are from Dovecraft and the mat has been cut using my Nesties.  The butterfly is one of the Marianne Creatable dies, the sentiments are from Craft Work Cards.


I love the attitude of this Sugar Nellie Home Grown Manga 'Goth Girl' stamp, it's such a contrast to the one below.    The backing papers are from Dovecraft and the sentiments are from and Kanban.


Isn't this stamp adorable?  It's another Sugar Nellie Home Grown Manga stamp, this one is called Manga Princess.  The backing papers are from Dovecraft and the mats has been cut using my Nesties, the sentiment is from Craft Work Cards.

Another stamp from the Sugar Nellie Home Grown Manga stamps - Coffee Time.  The backing papers are from the Dovecraft range.  The sentiments are from Craft Work Cards.  The mats are cut using my Nesties and the card on the right has been embellished with some peal-offs.


Finally, for this entry at least, we have another Gorjuss Girl stamp, this one is called The Bear.  The backing papers are from Dovecraft and the snowflake mats are one of the Marianne Creatable dies, the sentiment is from Craft Work Cards and Anita's.