Welcome


Hello, my name is Dionne and I have been crafting for a very long time. As a very young child my mother tried to teach me to knit, it was a disaster. However, it must have sparked an interest in making things and, partly to prove that I was not totally useless and partly because I really wanted to make things, I taught myself to crochet. Over the years I have developed a love of cross stitch and all types of paper craft ..... I eventually even taught myself to knit.


I am married to a very understanding man, thank goodness, because I spend all my time either crafting, thinking about crafting or talking about crafting. I am hopeless at housework and dinner is often late!


Thank you for visiting my blog.


Dionne

Monday, 28 November 2011

Anything Goes - Crafty Boots Blog Hop Challenge

A big hello to everyone taking part in the Crafty Boots Blog Hop Challenge and welcome to my blog.

The theme at Crafty Boots Challenges this fortnight is ‘Anything Goes’.  You can join in the challenge as normal but there are 12 extra chances for you to win a prize by joining the first ever Crafty Boots blog hop!


If you are joining in the hop you should have got here from Amy’s blog.  If you haven’t blog hopped before it is really simple, just start at the Crafty Boots Challenge blog and hop through the design team blogs in the order set out on that page.  Each of the design team members has a word or two for you to collect which will reveal a message at the end.  Once you have collected that message email it to bloghop@craftyboots.co.uk to be entered into the draw to win the prize of three digis of your choice from Hope Jacare Doodles.  You must also become a follower of all the design team’s blogs (and that of guest designer Claire) to be eligible to win the prizes.

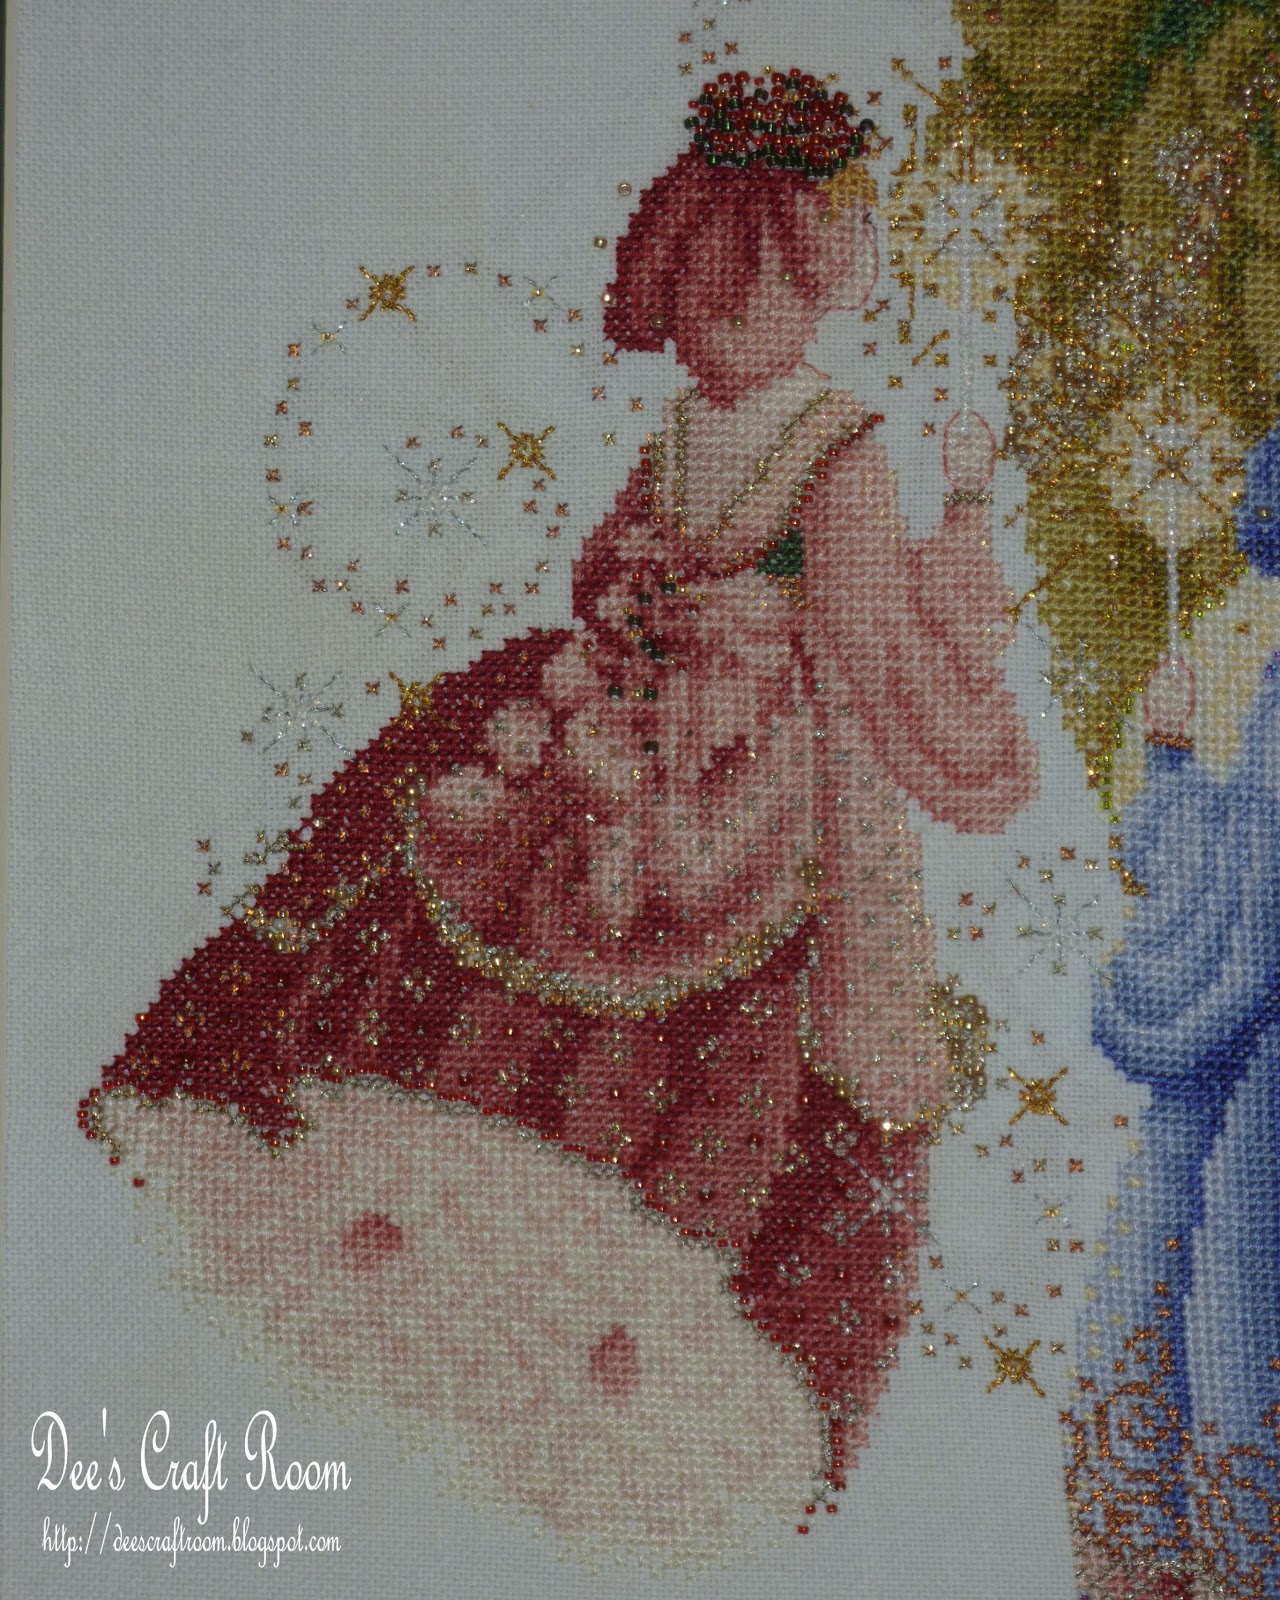
This image is called Christmas Rooftop.  With Christmas in mind I decided it was time to experiment with putting images onto candles and decorating them - and perhaps create a nice present for someone special.


To be able to do this you have to print the image onto tissue paper.  I cut my tissue to roughly A4 size, then attached it around all of the edges to a blank sheet of light weight card using double sided tape.  When you size your digital stamp you need to remember that the tissue paper attached to the double sided tape will be wasted so you need to keep to the centre of the page.

Once you have the printed image you should trim around it and carefully place it on the candle (you can use a little glue as it will not show when you have finished - I used a glue stick to place the ivy leaves, as they were hard to keep in place on their own).  You then tightly wrap the candle in wax paper and, using a heat gun, warm the wax under the tissue.  The melted wax oozes through the tissue.  Once you have a thin film of wax on the top of the image you should stop heating it.  Allow the thin layer of wax to set; you can no longer see the tissue paper but you can still see the image clearly.  

One of the advantages of using a digital image is that you can change the size of the image to fit your candle.

You can now add some embellishments, the candle wax is reasonably soft, so you can easily push pins in to it.

I made the ivy leaves by punching them out of green tissue paper using my X Cut embossing punch and arranging them in a chain around the candle.

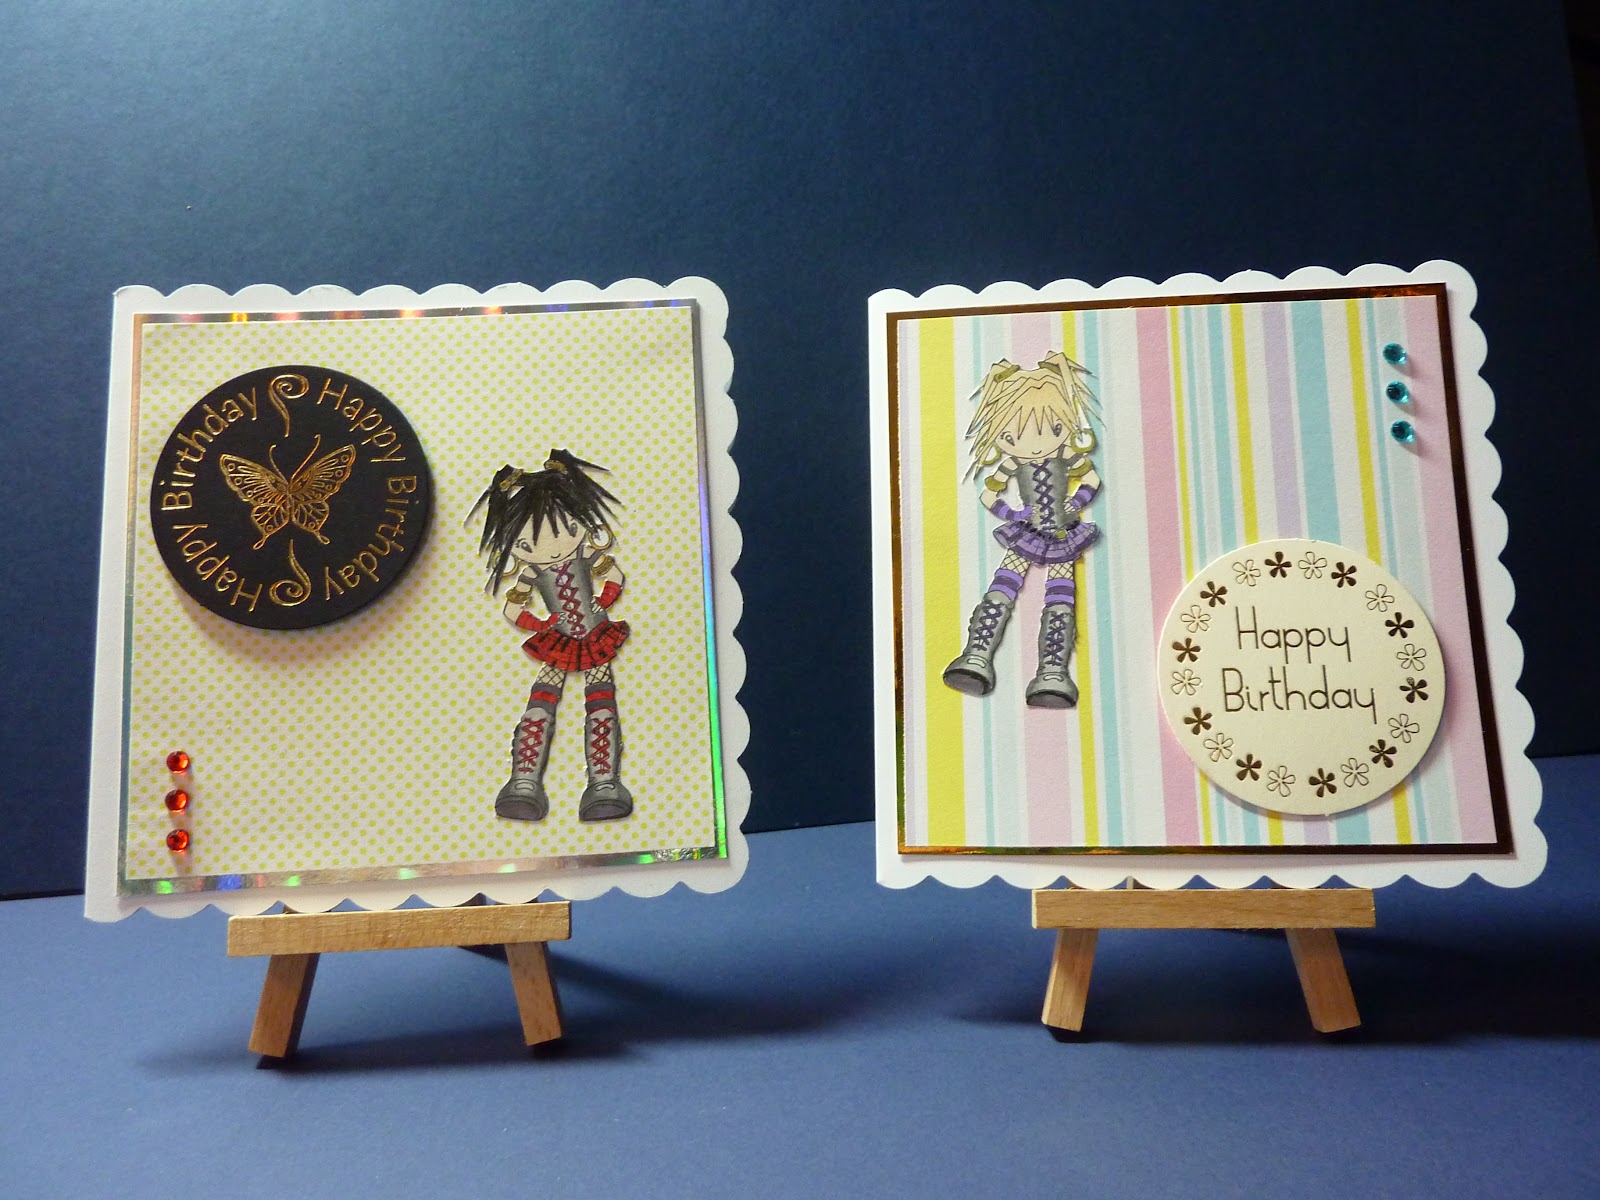
I was quite pleased with how these candles turned out but I thought that coloured images would also be nice.  However, Promarkers bleed when applied to tissue paper and my pencils were too faint when covered with wax.  My solution was to stamp an image in the normal way and to scan it onto my computer.  I then used my graphics programme to colour the image.  I was fairly pleased with the result, what do you think?


You can embellish your candles with all sorts of things.  I have used ribbons and peel-off's.  I have also added a small bell on a bow to one of them, you could try pushing brads or decorated pins into the candle wax.

Now back to the blog hop, don't forget that myself, and each of the design team members, has a prize of candy up for grabs, this will include a sample pack of the fantastic new Crafty Boots Deluxe Card, along with a few other goodies.  Be sure to leave a comment on each of our blogs and follow us to be in with a chance of winning our candy.

My word for the secret message is:

FOR

Your next stop is Emma M’s blog.


The deadline for both Anything Goes Challenge, and the blog hop (and the candy) is Sunday 11th December at 12 noon (UK time).

Monday, 14 November 2011

Firefly Fairies

For the next two week the theme of the Crafty Boots Challenge is Fantasy, which means anything magical or mythical.

This wonderful Lavender and Lace design of three fairies is by Marilyn Leavitt-Imblum and it is one of my favourites.  It is encrusted with beads and metallic threads, when it catches the light is really twinkles.


It is stitched on 32 count evenweave linen using 26 shades of stranded cotton, nine different colours of tiny beads, four separate shades of metallic braid, silk floss and treasure braid.

Monday, 31 October 2011

Catch the Wind

Welcome.  It's Monday and another Crafty Boots Challenge has been launched today.

The theme of this challenge is Young at Heart, which can be anything child related or something reminiscent of childhood.

I think all the fun of childhood is captured in this Butternut Road counted cross-stitch pattern entitled 'Catch the Wind'.


Designed by Marilyn Leavitt-Imblum, this colourful chart shows three girls holding tight to their kite strings.  I have worked this on 32 count white linen using 46 shades of stranded cotton.

This is one of those designs which was a joy to stitch and one day I have it in my mind to work it again using different colours, perhaps softer tones next time.


Monday, 17 October 2011

The Season of Mists and Mellow Fruitfulness

I hope your weekend was fabulous.

It's Monday and another Crafty Boots Challenge, the theme today is 'Autumn'.  I have taken my inspiration for this scrapbook page from the Keats poem 'To Autumn' and all of the amazing Halloween cards I have seen in recent weeks.


The background paper I have used is by Kaisercraft.  I stamped the page with tumbling autumn leaves using a VersaMark ink pad, I then brushed the page with Perfect Pearls which I bought from the Crafty Boots website, to get that shimmering ghost leaf effect, it also gave the page a misty feel. 

I then covered three sheets of card the same size as the photograph with three different blends of gilding flakes (not that you can actually see the different colours from the photograph here).

I cut the letters out of paper and added the Jack O Lanterns, apples and corn.  The text is the first verse of my favourite harvest festival hymn.

Sunday, 9 October 2011

Here Come the Girls!

I have been having a fantastic time this week, playing with my new stamps and my Promarkers.  I have produced another batch of cards, all girl images this time.


This stamp is a Sugar Nellie Home Grown Manga one called Dreamy.  The backing papers are from Dovecraft and the mats are all cut using my Nesties, you can see that I had a go at distressing some of the mats.  The sentiments are from Craft Work Cards.


Another Sugar Nellie Home Grown Manga stamp, this one is called Manga Girl # 2.  The backing papers are from Dovecraft and the snowflake mat is one of the Marianne Creatable dies, the sentiment is from Craft Work Cards.


This is a Gorgeous Girl stamp called Winter Friend.  The backing papers are from Dovecraft and the glittery mats has been cut using my Nesties, the sentiment is from Anita's.


Another Gorgeous Girl stamp, this one is called Holly.  The backing paper for the card on the left was a free gift from one of the mags and I distressed the Nestie mat.  The snowflakes were punched with one of my Martha Stewart punches and the sentiment is by Anita's.  The backing paper for the other card is from Dovecraft and the gold snowflake mat one of the Marianne Creatable dies, the sentiment is from Craft Work Cards.


More Sugar Nellie Home Grown Manga stamps.  The one on the left is called Tiny Tidler and the one on the right is called Manga Girl # 1..  The backing papers are from Dovecraft and the mat has been cut using my Nesties.  The butterfly is one of the Marianne Creatable dies, the sentiments are from Craft Work Cards.


I love the attitude of this Sugar Nellie Home Grown Manga 'Goth Girl' stamp, it's such a contrast to the one below.    The backing papers are from Dovecraft and the sentiments are from and Kanban.


Isn't this stamp adorable?  It's another Sugar Nellie Home Grown Manga stamp, this one is called Manga Princess.  The backing papers are from Dovecraft and the mats has been cut using my Nesties, the sentiment is from Craft Work Cards.

Another stamp from the Sugar Nellie Home Grown Manga stamps - Coffee Time.  The backing papers are from the Dovecraft range.  The sentiments are from Craft Work Cards.  The mats are cut using my Nesties and the card on the right has been embellished with some peal-offs.


Finally, for this entry at least, we have another Gorjuss Girl stamp, this one is called The Bear.  The backing papers are from Dovecraft and the snowflake mats are one of the Marianne Creatable dies, the sentiment is from Craft Work Cards and Anita's.

Friday, 7 October 2011

Snips and Snails and Puppy Dogs Tails

Brrrr, it's quite nippy today, quite the contrast to last week.

The other day I promised to load more of the cards I have made with my new stamps and Promarkers.  Today it's the turn of the boys.


I have recently treated myself to several Sugar Nellie stamps, including this 'Sporty' Home Grown Manga.  The backing papers here are by Dovecraft and the sentiments and Card Candi are by Craft Work Cards.  I have used peal off stickers to personalise the Nestie shaped mat on the first card.


This Sugar Nellie Home Grown Manga stamp is called 'Pets Corner'.  Again the backing papers are from the Dovecraft range and the sentiments and Card Candi are by Craft Work Cards.


Another Sugar Nellie Home Grown Manga stamp this one is called 'FORE!'.  Once again the backing papers are from the Dovecraft range and the sentiments and Card Candi are by Craft Work Cards.  The butterfly mat was created using my Nesties.

Monday, 3 October 2011

The Menagerie Keeper

Another amazing day, we are currently experiencing the most incredible weather here in the South East of England.  The temperatures are breaking all records, in fact, they are higher than those we had in August and it is most unseasonable.

And if this day was not fabulous enough, there is a new Crafty Boots Challenge today.  The theme of this challenge is 'Zoo', which is anything animal related really.

My offering is a pink sparkly card on acetate - although I am afraid that the glitter does not show that well in these photographs.


In the right light these Gorjuss Girl images look like they are suspended in the air.  

I purchased these two stamps from the Crafty Boots website, the stamp sets are called The Bear and Winter Friend.  The backing papers are Dovecraft, as is the little heart shaped pink gem.  The sentiment is from Kanban.  The white card the cover girl is on was cut and embossed using one of my nesties.

There are a couple of things you have to keep in mind when you make this type of card.  The first is that you need to be very careful when cutting the backing papers to ensure that all four are exactly the same size so that the sit neatly over one another and do not peek out from under the top one when you centre them on the acetate.  The other is to ensure that the acetate is thick enough to stand under the weight of all of the papers but not too thick, you do not want it to crack when you score it.